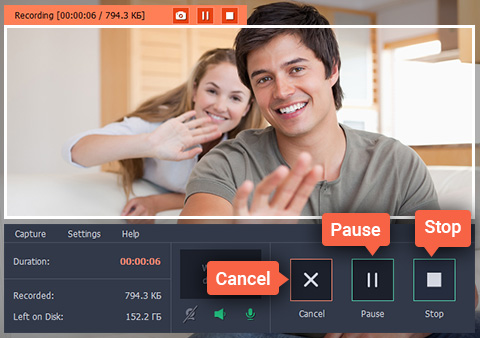
This post includes some simple steps that will help you to learn how to record Skype video calls on a PC with Movavi screen capture.
If you use Skype and regularly conduct video calls with others then you probably know just how convenient and easy it is to use it as a communication tool. However, as much as Skype has a slew of amazing features the one thing that it won’t let you do is record your video calls and save them.
That one drawback can be a bit problematic sometimes, as it means you won’t be able to preserve any of the wonderful memories when you stay in touch with your friends or refer to some of the important business calls that you may use Skype for. Fortunately, it isn’t that hard to learn how to record Skype video calls on your PC, and the only thing you will need is Movavi Screen Capture.
In a nutshell, Movavi Screen Capture is a nice little tool that will let you record videos directly from your screen. Because of that in this case all you need to do to set it up as a Skype video recorder is configure it to record the video call from your screen.
If you’re worried about how to do that, rest assured that it is really quite easy and all you need to do is launch Movavi Screen Capture and follow these steps:
How to Record Skype Video Calls on a PC with Movavi Screen Capture
- Select ‘Record screen’ in the main window.
- Hover the cursor over the Skype window with the video call and click once to select it (alternatively you could manually adjust the capture frame or use the presets in the dropdown list).
- Check that both the ‘System Audio’ and ‘Microphone’ icons are highlighted so that both sides of the video call’s audio are recorded.
- Click ‘REC’ as the video call begins and the recording will start after 5 seconds.
- Then, click ‘Stop’ when the recording is done.
- Click ‘Save as’ and choose a format or use one of the presets to automatically specify the optimal settings for a particular device or platform.
Go ahead and try to use Movavi Screen Capture to record and save your first Skype call. While you’re at it also be sure to explore its other features so that you can adjust the frame rate, capture keyboard and mouse actions, schedule a timer for the recording, and much more. It shouldn’t take you long to become accustomed to these features and apply them to fully control all aspects of your recording.
